Installing Conda-Forge on Windows
This document provides a step-by-step guide to installing Conda-Forge on Windows. Conda-Forge is a community-driven collection of conda packages that are built and maintained by the community.
Step 1: Downloading Conda-Forge installer
Go to the Conda-Forge page and download the Anaconda installer for Windows.

Click on the button Download Installer.

Click on the Windows Button to download the installer for Windows.
A download message will appear on the top right corner of your browser. Click on the Open file when the download has completed.

Step 2: Installing Conda-Forge
When the installer opens, you will see a welcome screen.

Click on Next to continue. The following page will be displayed:

Select the option Install only for me and click on Next. The following page will be displayed:

Leave the suggested location for the installation and click on Next. The following page will be displayed:

Here it is important to select the option "Register Anaconda as my default Python 3.x". This will ensure that the Conda-Forge packages are available in your Python environment. Click on Next to continue. The installation of Conda-Forge will start and the following page will be displayed:

When this dialog has finished the Conda-Forge installation is complete.
Step 3: Opening an Miniforge prompt
Press the Start button in Windows. This should bring up the following menu.

In the top part of the start menu enter miniforge. This should show the shortcut for the Miniforge prompt. Click on the Miniforge Prompt to open a command line window as shown below:
To install the required packages for this course we create an environment. An environment is a self-contained installation of Python with its own set of packages. This allows you to have multiple versions of Python and packages installed on your system without conflicts. To create an environment called vsmn20 with Python 3.8, run the following command in the Miniforge prompt:
Running this command will check for the required packages and their dependencies. If everything is ok, you will be prompted to confirm the installation. Type y and press enter to continue.

When the installation completes, you will see the following message:
Downloading and Extracting Packages:

Preparing transaction: done
Verifying transaction: done
Executing transaction: done
#
# To activate this environment, use
#
#     $ conda activate vsmn20
#
# To deactivate an active environment, use
#
#     $ conda deactivate
To use this environment in the future, you need to activate it. To do this, run the following command in the Miniforge prompt:
This will activate the vsmn20 environment and you will see the following message:
This indicates that you are now in the vsmn20 environment and any packages you install or run will be from this environment.
To deactivate the environment, run the following command:
This will deactivate the vsmn20 environment and return you to the base environment.
Step 4: Installing additional packages
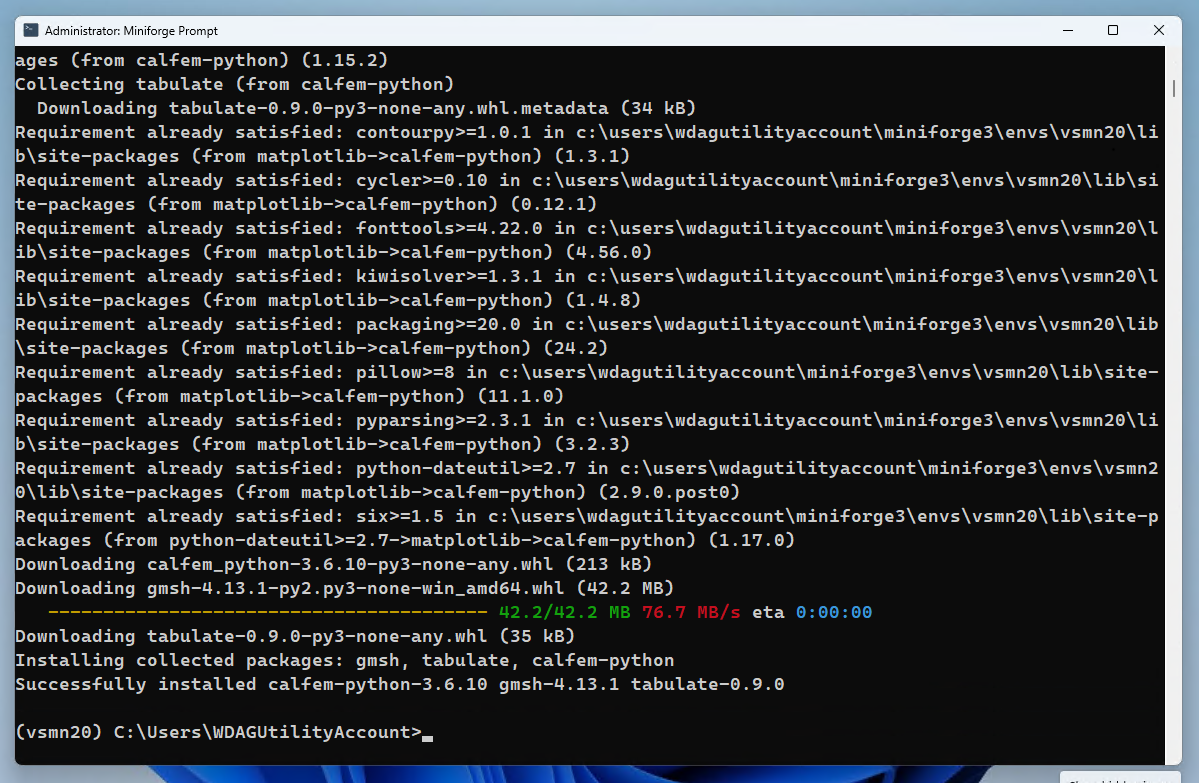
In this course there are additional packages required that are not included in the default installation of Conda-Forge. To install these packages make sure the vsmn20 environment is activated and run the following command:
To install the additional packages we will ue the pip command. This is a package manager for Python that allows you to install packages from the Python Package Index (PyPI). Using pip we will install CALFEM.
When the installation is complete you will see the following message:
Step 5: Installing Visual Studio Code
Download Visual Studio Code from here:
https://code.visualstudio.com/Download

Click on the open file when the download has completed.

When running the installer the first time it will show a warning that the installer is not meant to be run as an administrator. This is OK. Press OK to continue.

A welcom page is shown asking you to accept the license agreement. Press I accept the agreement and click on Next.

Next a page is shown where you can select the installation folder. Leave the default folder and click on Next.

In the next page just accept the default name of the shortcut to be created. Click on Next.
In the next page it is important that you select all checkboxes. This will ensure that Visual Studio Code is added to the PATH and that the file types are associated with Visual Studio Code. Click on Next.

Click on Install to start the installation.

When the installation is complete, you will see the following message:

Leave the checkbox Launch Visual Studio Code checked and click on Finish. This will start Visual Studio Code.
Step 6: Installing the Python extension for Visual Studio Code
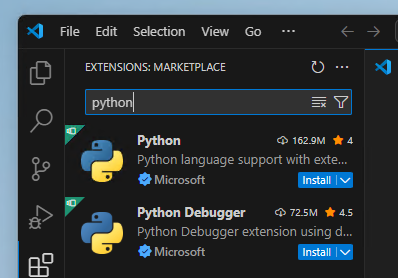
I the left toolbar click on the Extensions icon. This will open the extensions view.

In the search box enter Python. This will show the Python extension for Visual Studio Code. Click on the Install button to install the extension.
Next, create a new file by clicking on the File/New file... in the menu. This will open a file type selection dialog.
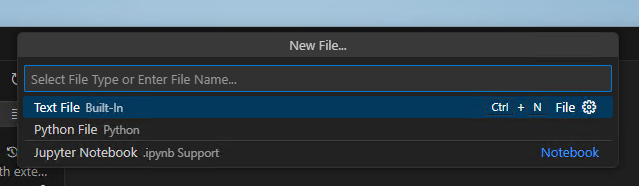
In the file type selection dialog select Python. This will create a new Python file.
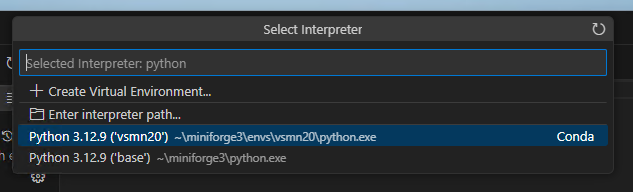
In the next step we will need to select the Python interpreter. This is the Python version that will be used to run the code. To select the Python interpreter, click on the Select interpreter icon in the bottom right corner of Visual Studio Code.

This will open a list of available Python interpreters. Select the one that corresponds to the vsmn20 environment we created earlier. This should be something like C:\Users\YourUsername\Miniforge3\envs\vsmn20\python.exe.
Step 7: Setting the default Terminal Profile
On Windows the default terminal by default is PowerShell, which can cause problems in VS Code. For Miniforge to work correctly we need to change this to use the standard Windows Command Prompt shell. This can be done by changing the settings in VS Code as follows:
- Open the Command Palette by pressing Ctrl + Shift + P
- Skriv: Terminal: Select Default Profile
- Välj: Command Prompt (cmd.exe)
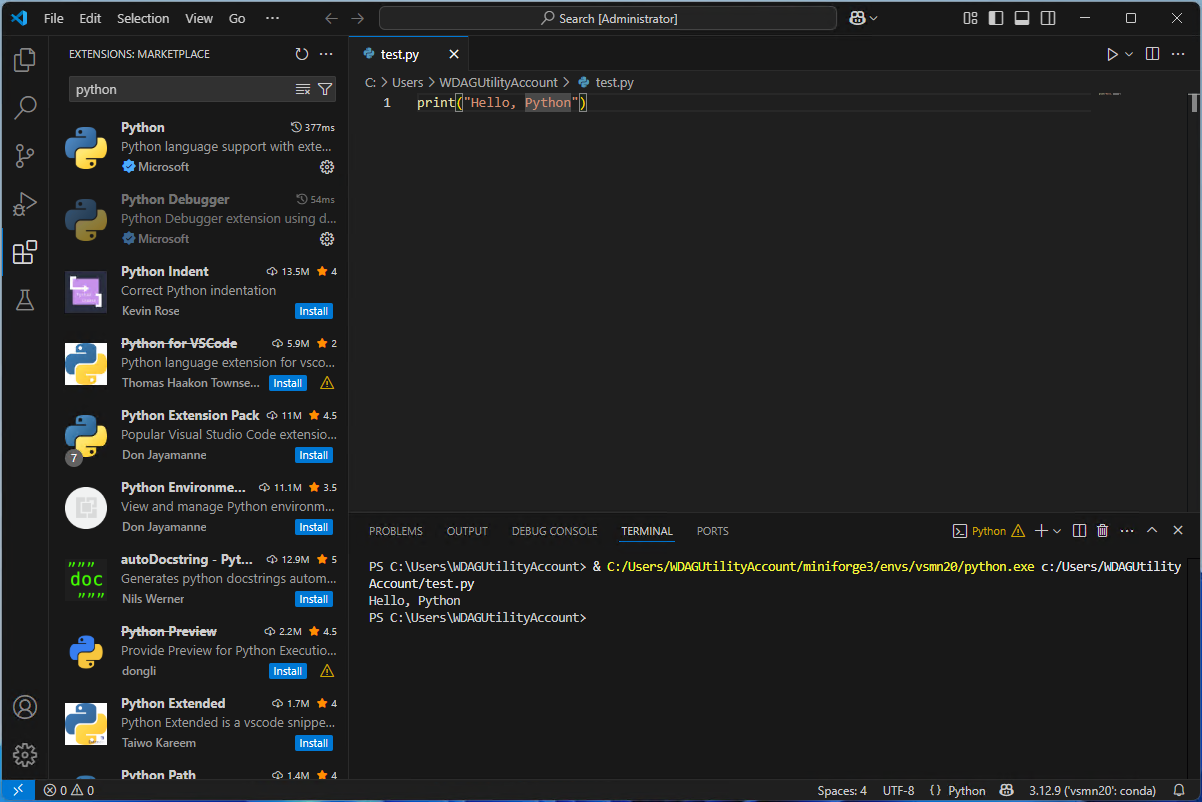
When this has been done, everytime you open a Python file in Visual Studio Code, it will show a play button in the top right corner. This will run the code in the file using the selected Python interpreter. Below shows what happens when you click on the play button.
Note
It can be required to restart VS Code for this to work.